
Making A Chair Part Three - Carving The Seat
Sitting Comfortably.
A confession - when I first started making chairs, I began to wonder if I couldn’t just set up a machine to do this job. It seemed to take hours. My knuckles started to bleed while my fitness watch assumed I was swimming the channel. Not much fun, but I stuck at it. It’s become my favourite part of the process. The results of doing it by hand are much more satisfying, and more importantly, comfortable.
Carving isn’t usually a skill you have to master when building regular furniture. Nowadays we look for clean, unfussy lines and little ornamentation. Still, all those who’ve perched on a flat surface for longer than five minutes will know - it helps to shape a seat! Even a slight dip for the bottom to rest in makes a huge difference. Let’s walk through the process and I’ll try to explain how it’s done, and why.
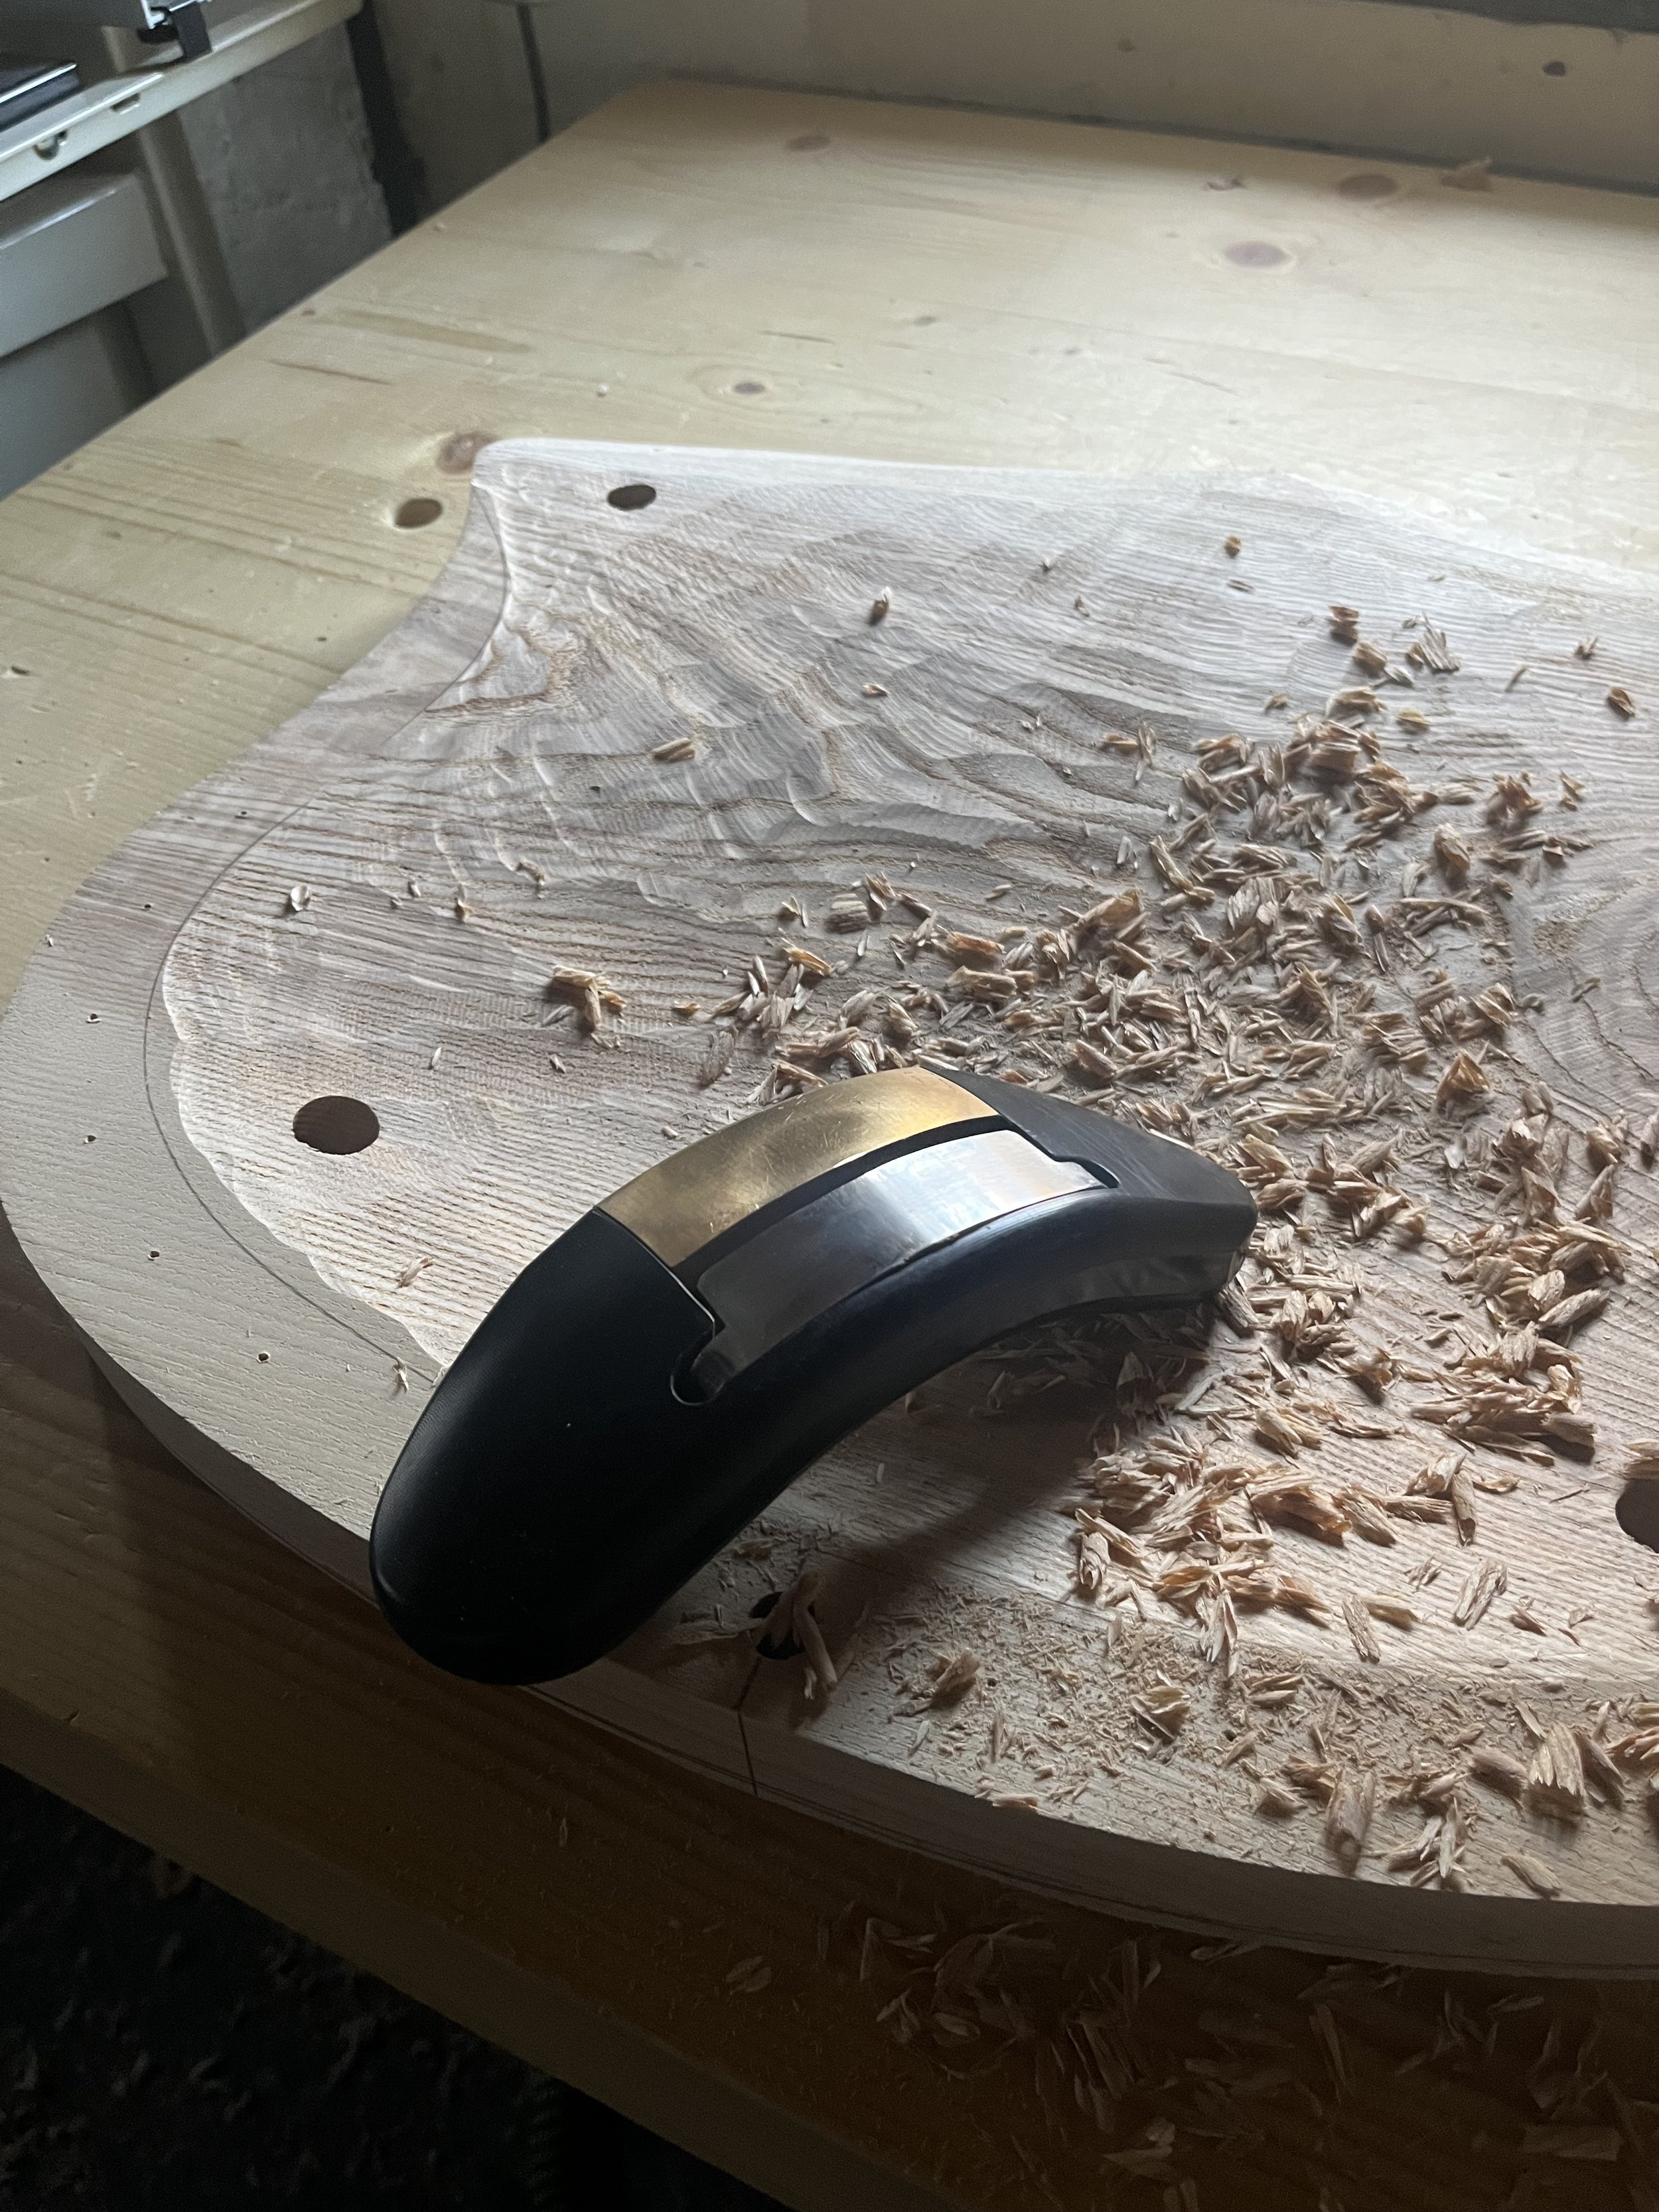
Travisher, Courtesy of The Windsor Workshop.
Our seat starts out as a heavy block of kiln dried Ash. This means it’ll be stable and solid. This also means that it’s a bugger to carve. I’ll stop moaning and get on with it. The shape of the seat is drawn using a template. We then drill holes for the legs and mark out where the spindles will sit. After that I start to remove wood from the centre. Perhaps the main skill in carving effectively is learning how far you can go with a particular tool. At first, I use an angle grinder with a carving disc. This makes an unholy racket. It reminds me of working on a building site. Not so much that I start listening to Talk Sport and get the urge to piss off down Screwfix for an hour, but it definitely brings back memories.
The angle grinder is not very pleasant to use but it gets the job done. I can then refine the shape of the seat using more sophisticated means. Talk Sport is switched over to Classic FM, PG Tips jettisoned for Darjeeling, you get the picture.
One of the most satisfying things about traditional chairmaking is using proper hand tools. In the picture above is a travisher, made by my friend James Mursell at The Windsor Workshop. It has a curved blade which helps to define the shape of a seat. Once set up and nicely sharp, it feels like an extension of your hands. When making my first few chairs, I was constantly stopping to sit on the seat and check for comfort. I’m more confident now, letting the travisher do the work, judging by hand and eye. There’s a real sense of flow here.

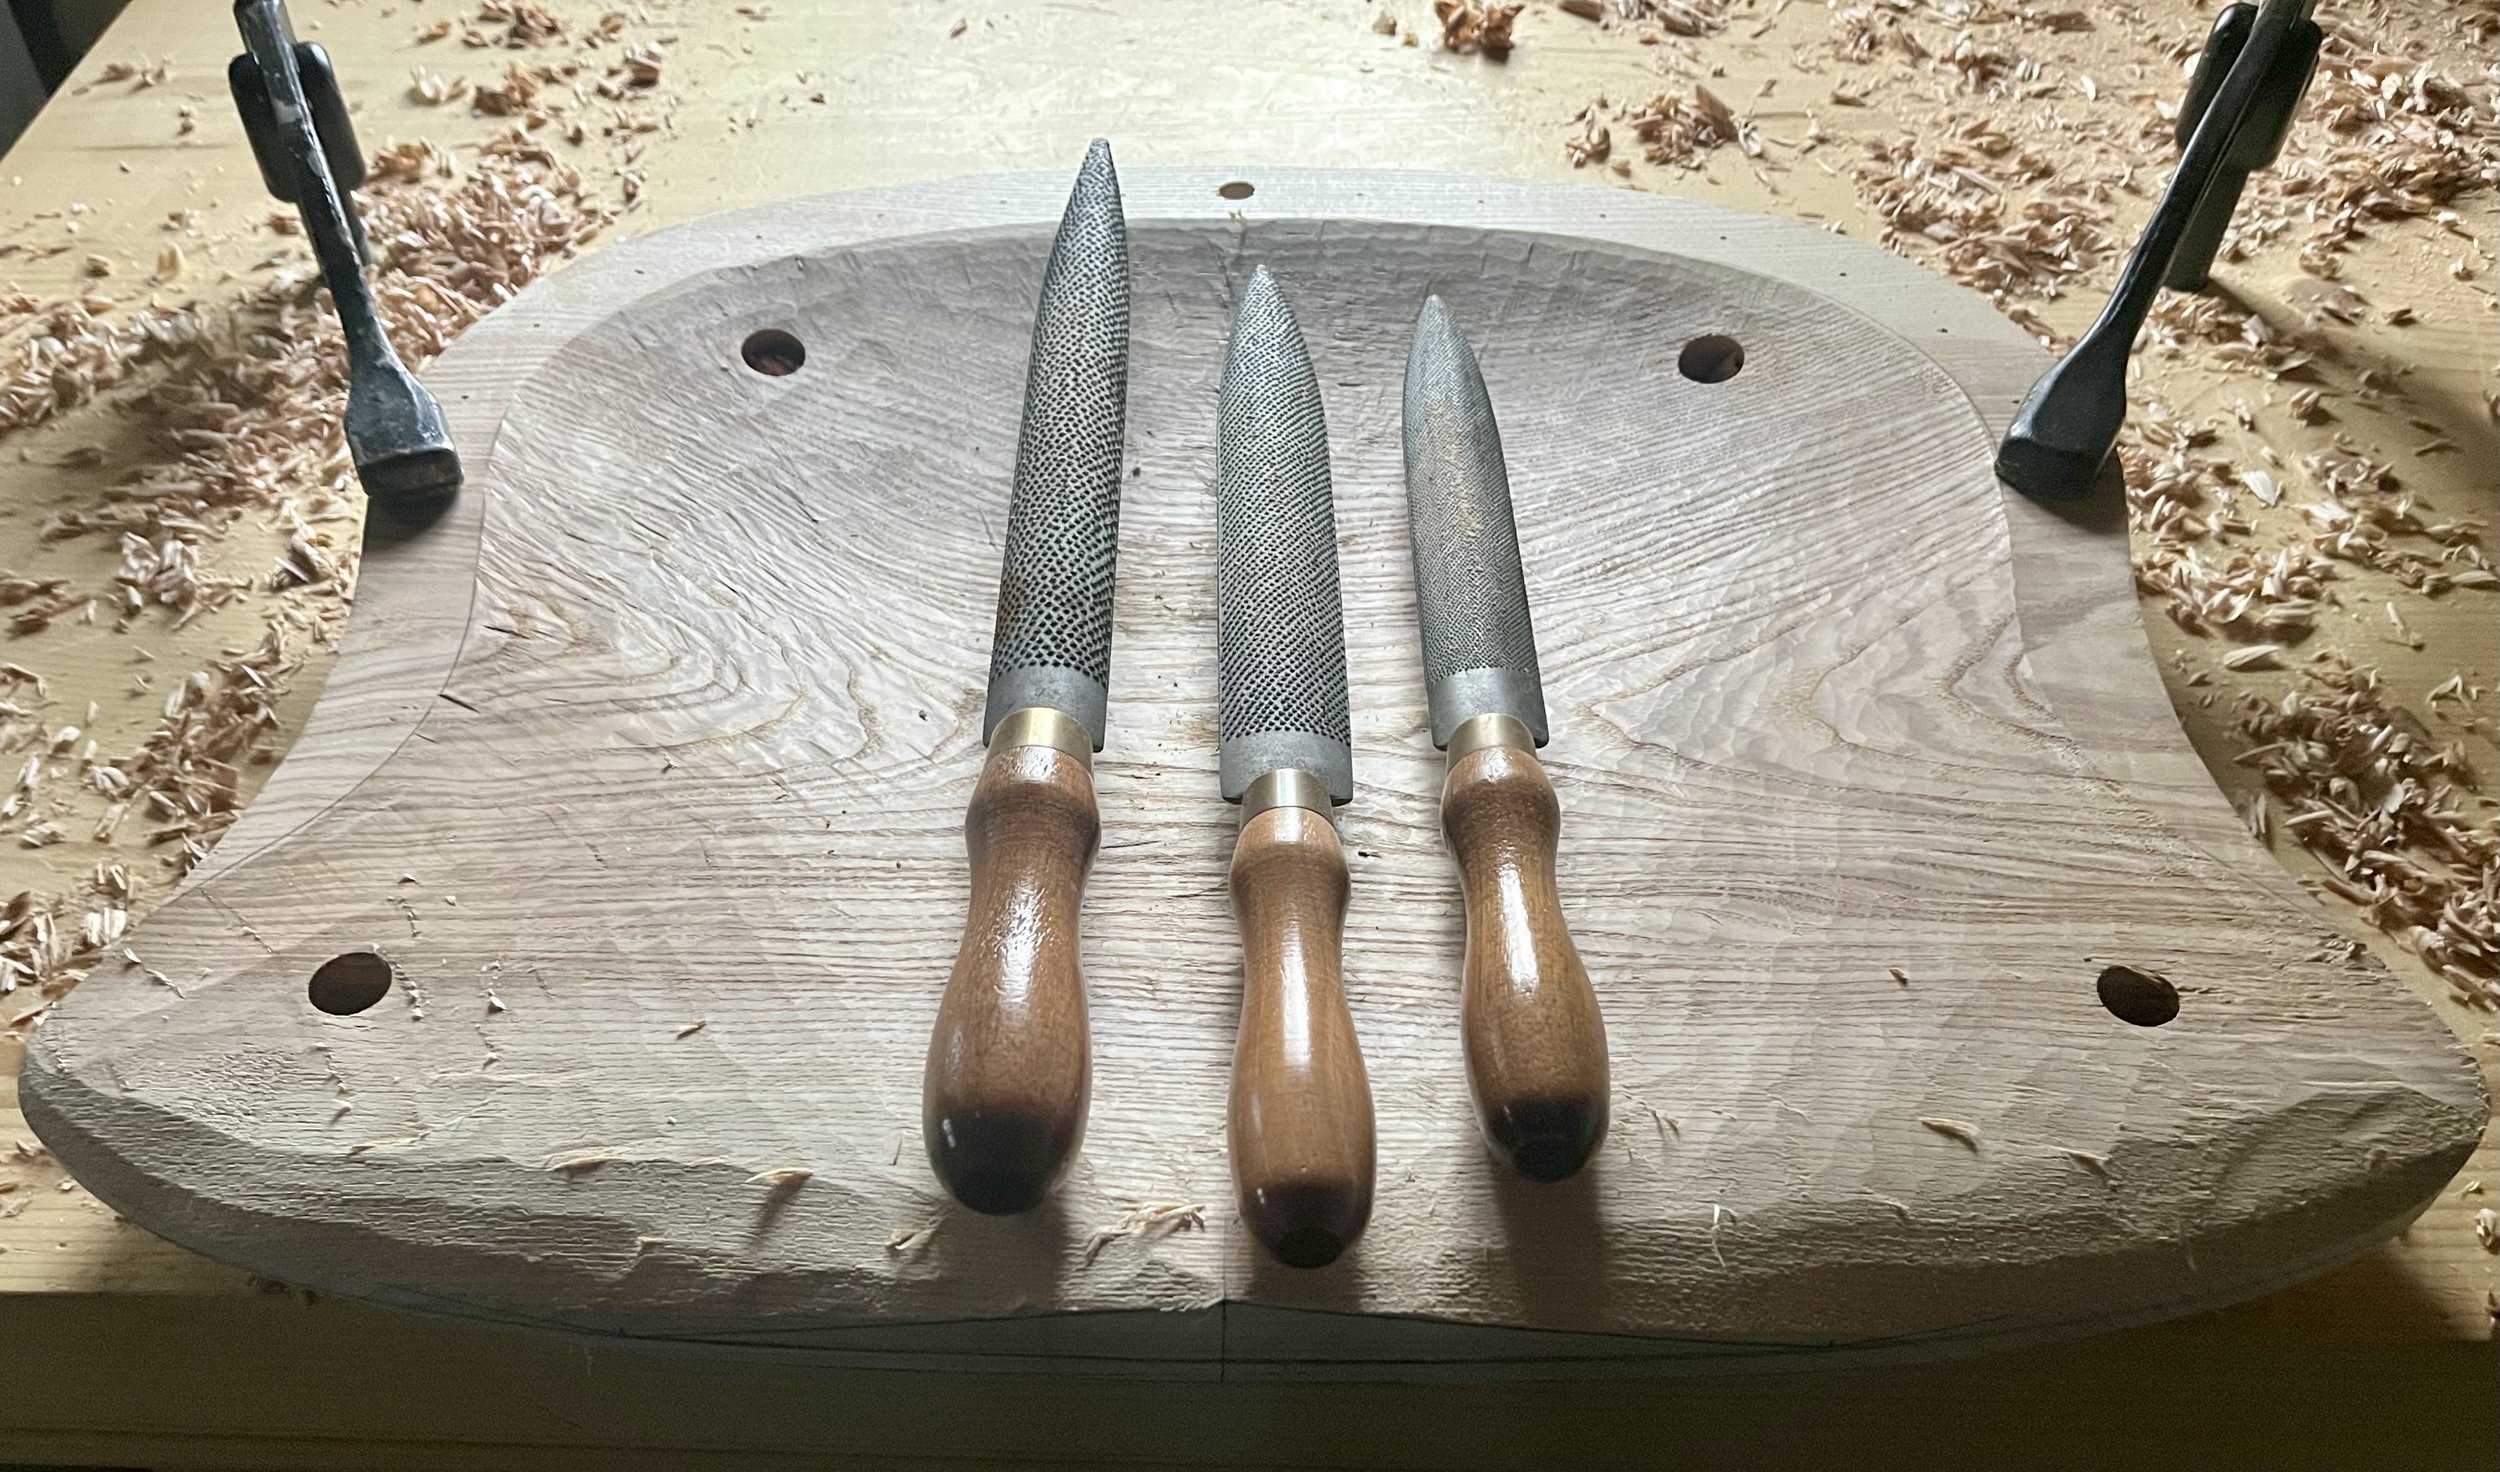
Hand Stitched Rasps, Rough To Smooth.
Next up are my set of rasps. These are mainly used to define the convex shapes - the swoops and curves of the seat. These rasps are a bit special, too. They’re made by a small forge near Albi in South Western France. Each one is “hand-stitched” - the cutting teeth are individually picked out by hand. This gives a smoother, more effective cut. In case you can’t tell, I bloody love these tools and you can bury them alongside me in my pyramid. Rasps are particularly effective in making sure the area where the thighs contact the chair is comfortable. I also use them to shape the underside, relieving the edges to give the impression of lightness. In fact, the whole seat is quite a bit lighter by now and my workshop floor is covered with shavings.
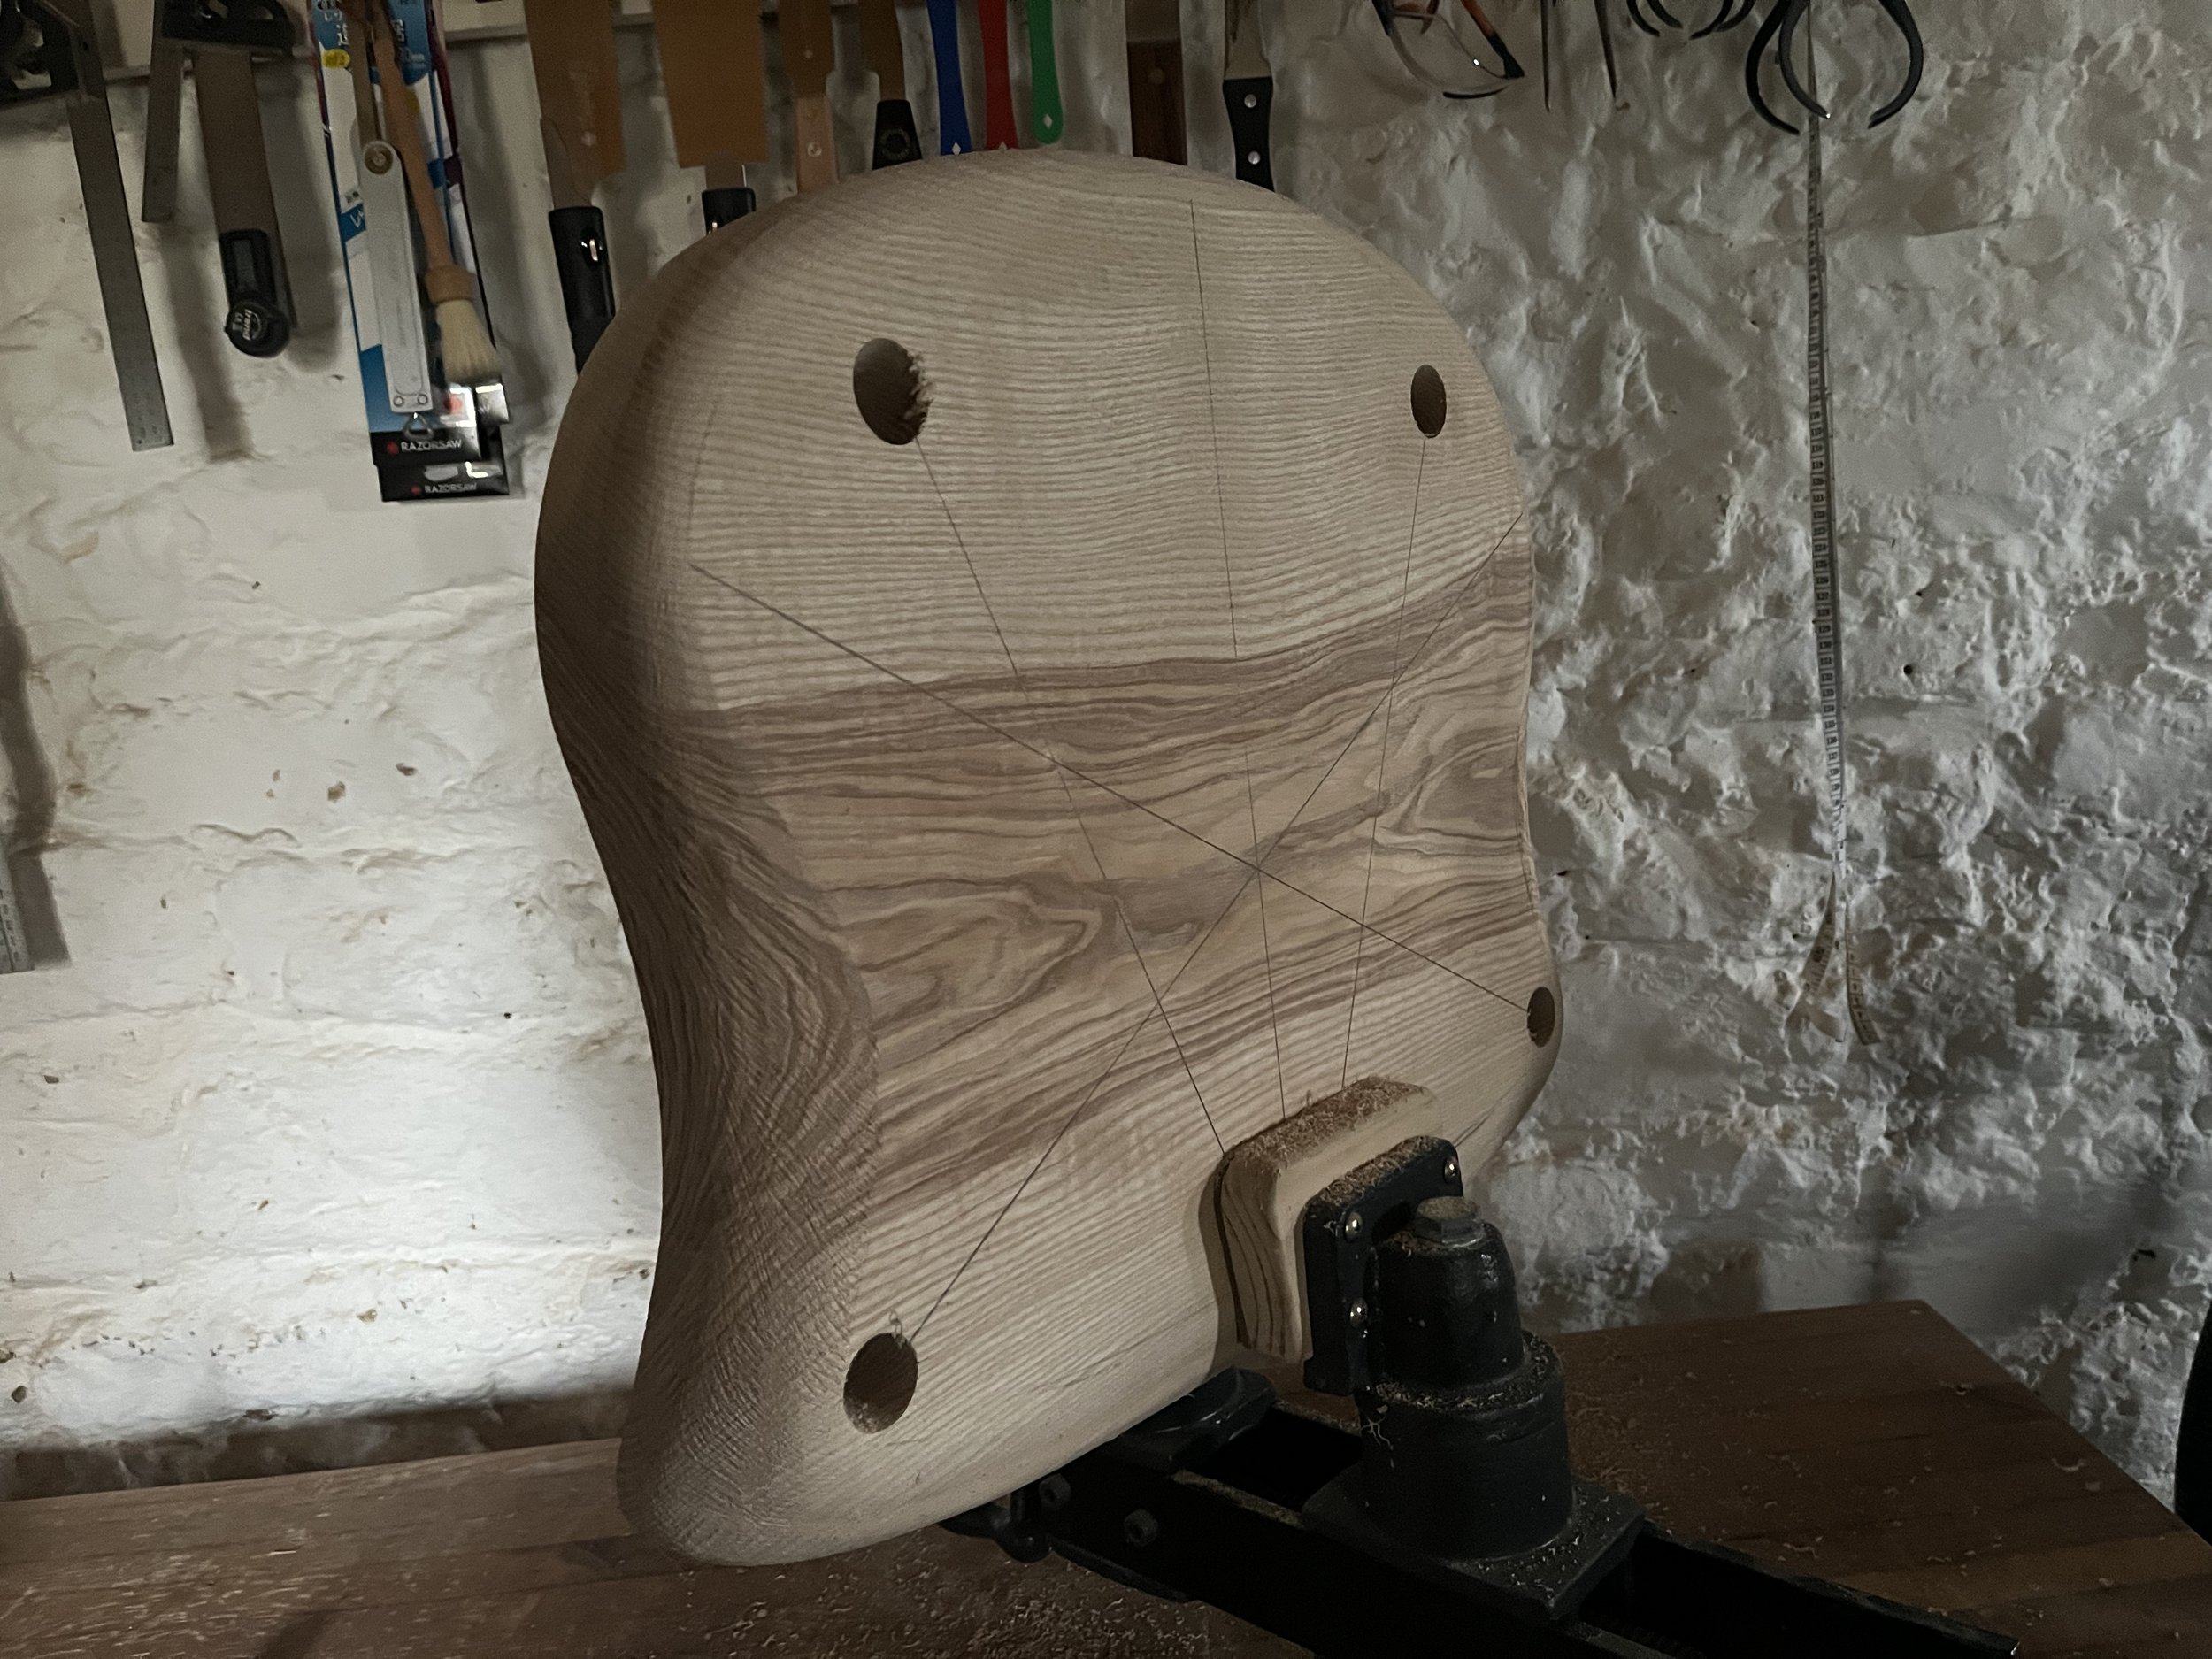
Underside Of Seat.
The final stage is levelling out, removing any toolmarks and generally cleaning up. For this we use the simplest yet most effective tool in any furniture maker’s arsenal - the card scraper. It’s a thin piece of hard steel with a turned lip or “burr”, which makes fine fluffy shavings when dragged across wood. With a freshly turned burr, the card scraper is a joy to use. It makes short work of cleaning up the seat, and helps to define crisp edges. I try to avoid sandpaper as much as possible when making chairs, as it tries too hard to flatten everything. I’m not after flat. Or dust. Just sweet smelling shavings and curves like a cello…
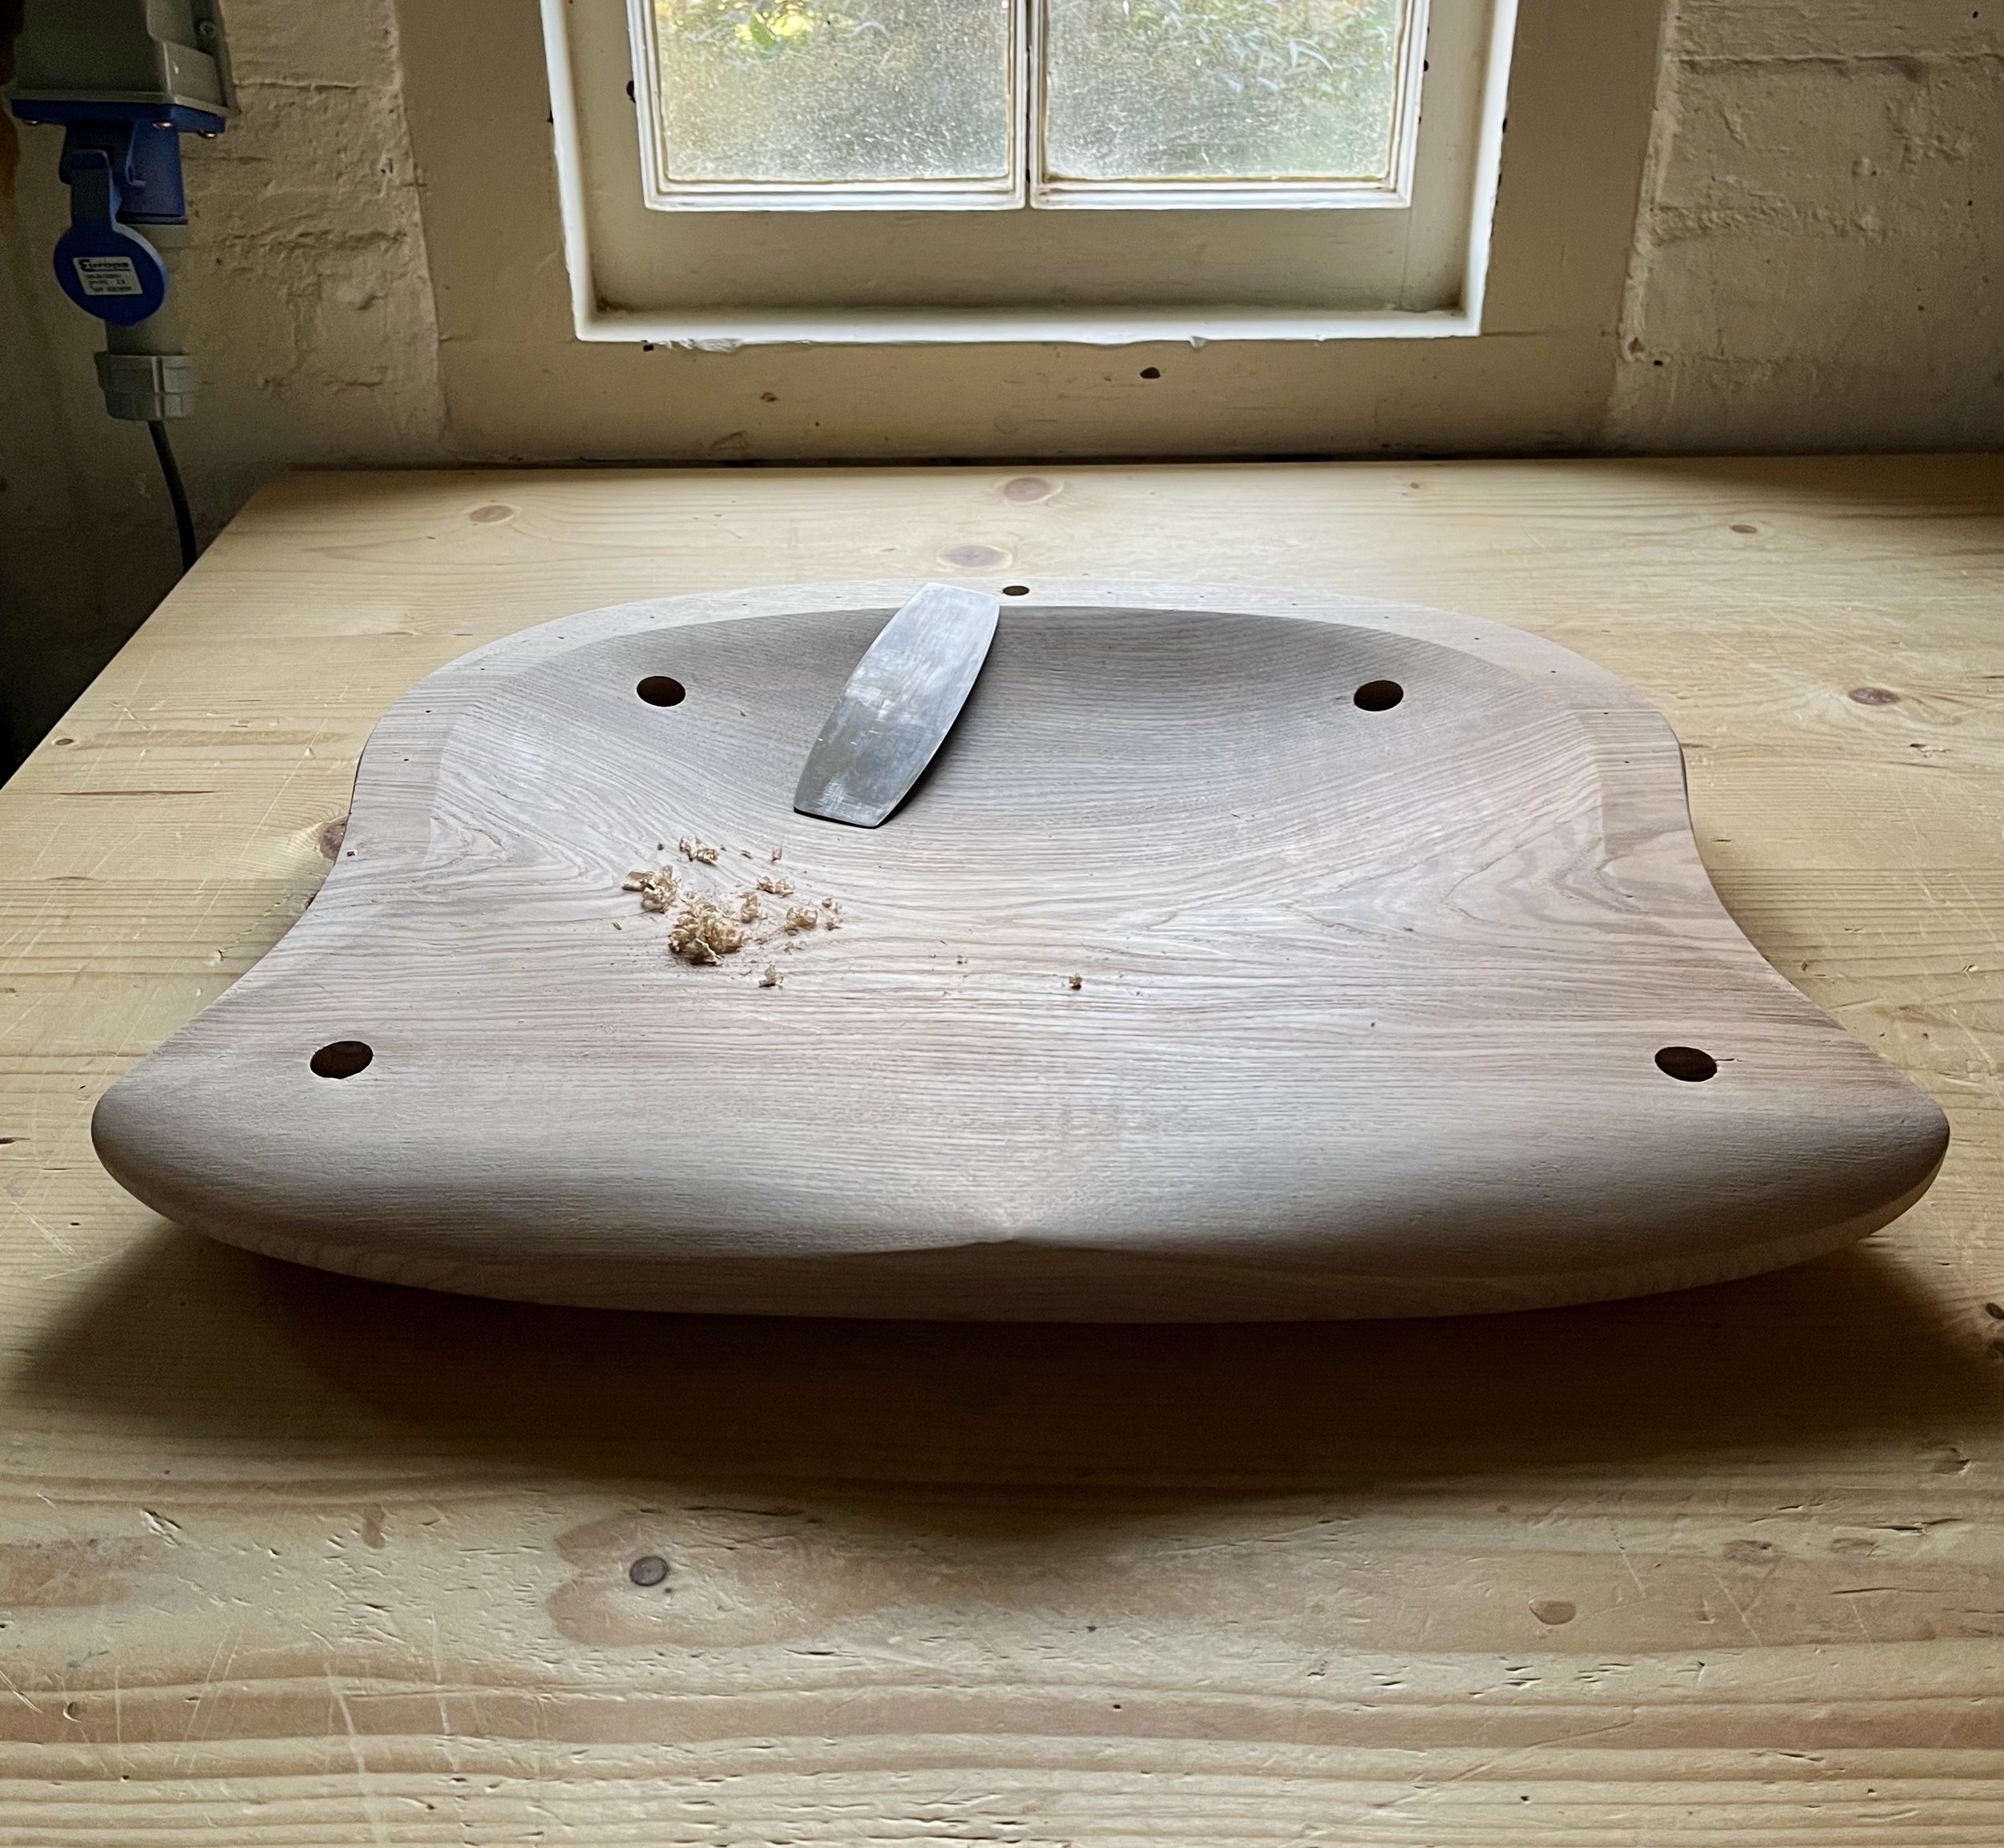
Finished Seat, With Card Scraper.
Next week, assembling the undercarriage. More interesting than it sounds, honestly!
If you enjoyed this post, why not subscribe for the next episode?