
Making A Chair Part Four - Leg It
Windsor Chair Seat With Wedged Tenons
It’s been a hectic few weeks in the workshop. Making furniture has taken priority over writing about it, and I hope you’ll all agree that’s how it should be. I’ve finally got room full of brand new chairs and a delivery van booked for the morning, might as well sit down and continue the story…
When it comes to turning the legs and stretchers, I don’t really have much to say. Not that it’s boring (that bit comes later), but it’s one of those meditative tasks that takes up a whole morning before you realise it. I was lucky enough to be taught the basics by Phil Jones, who must be one of the last full-time independent turners left in the country. Phil turned parts for all the different Wycombe firms back in the day and lives just down the road. He’s also got a copy lathe which knocks out gorgeous Windsor spindles, which I often dream about when struggling with my spokeshave.
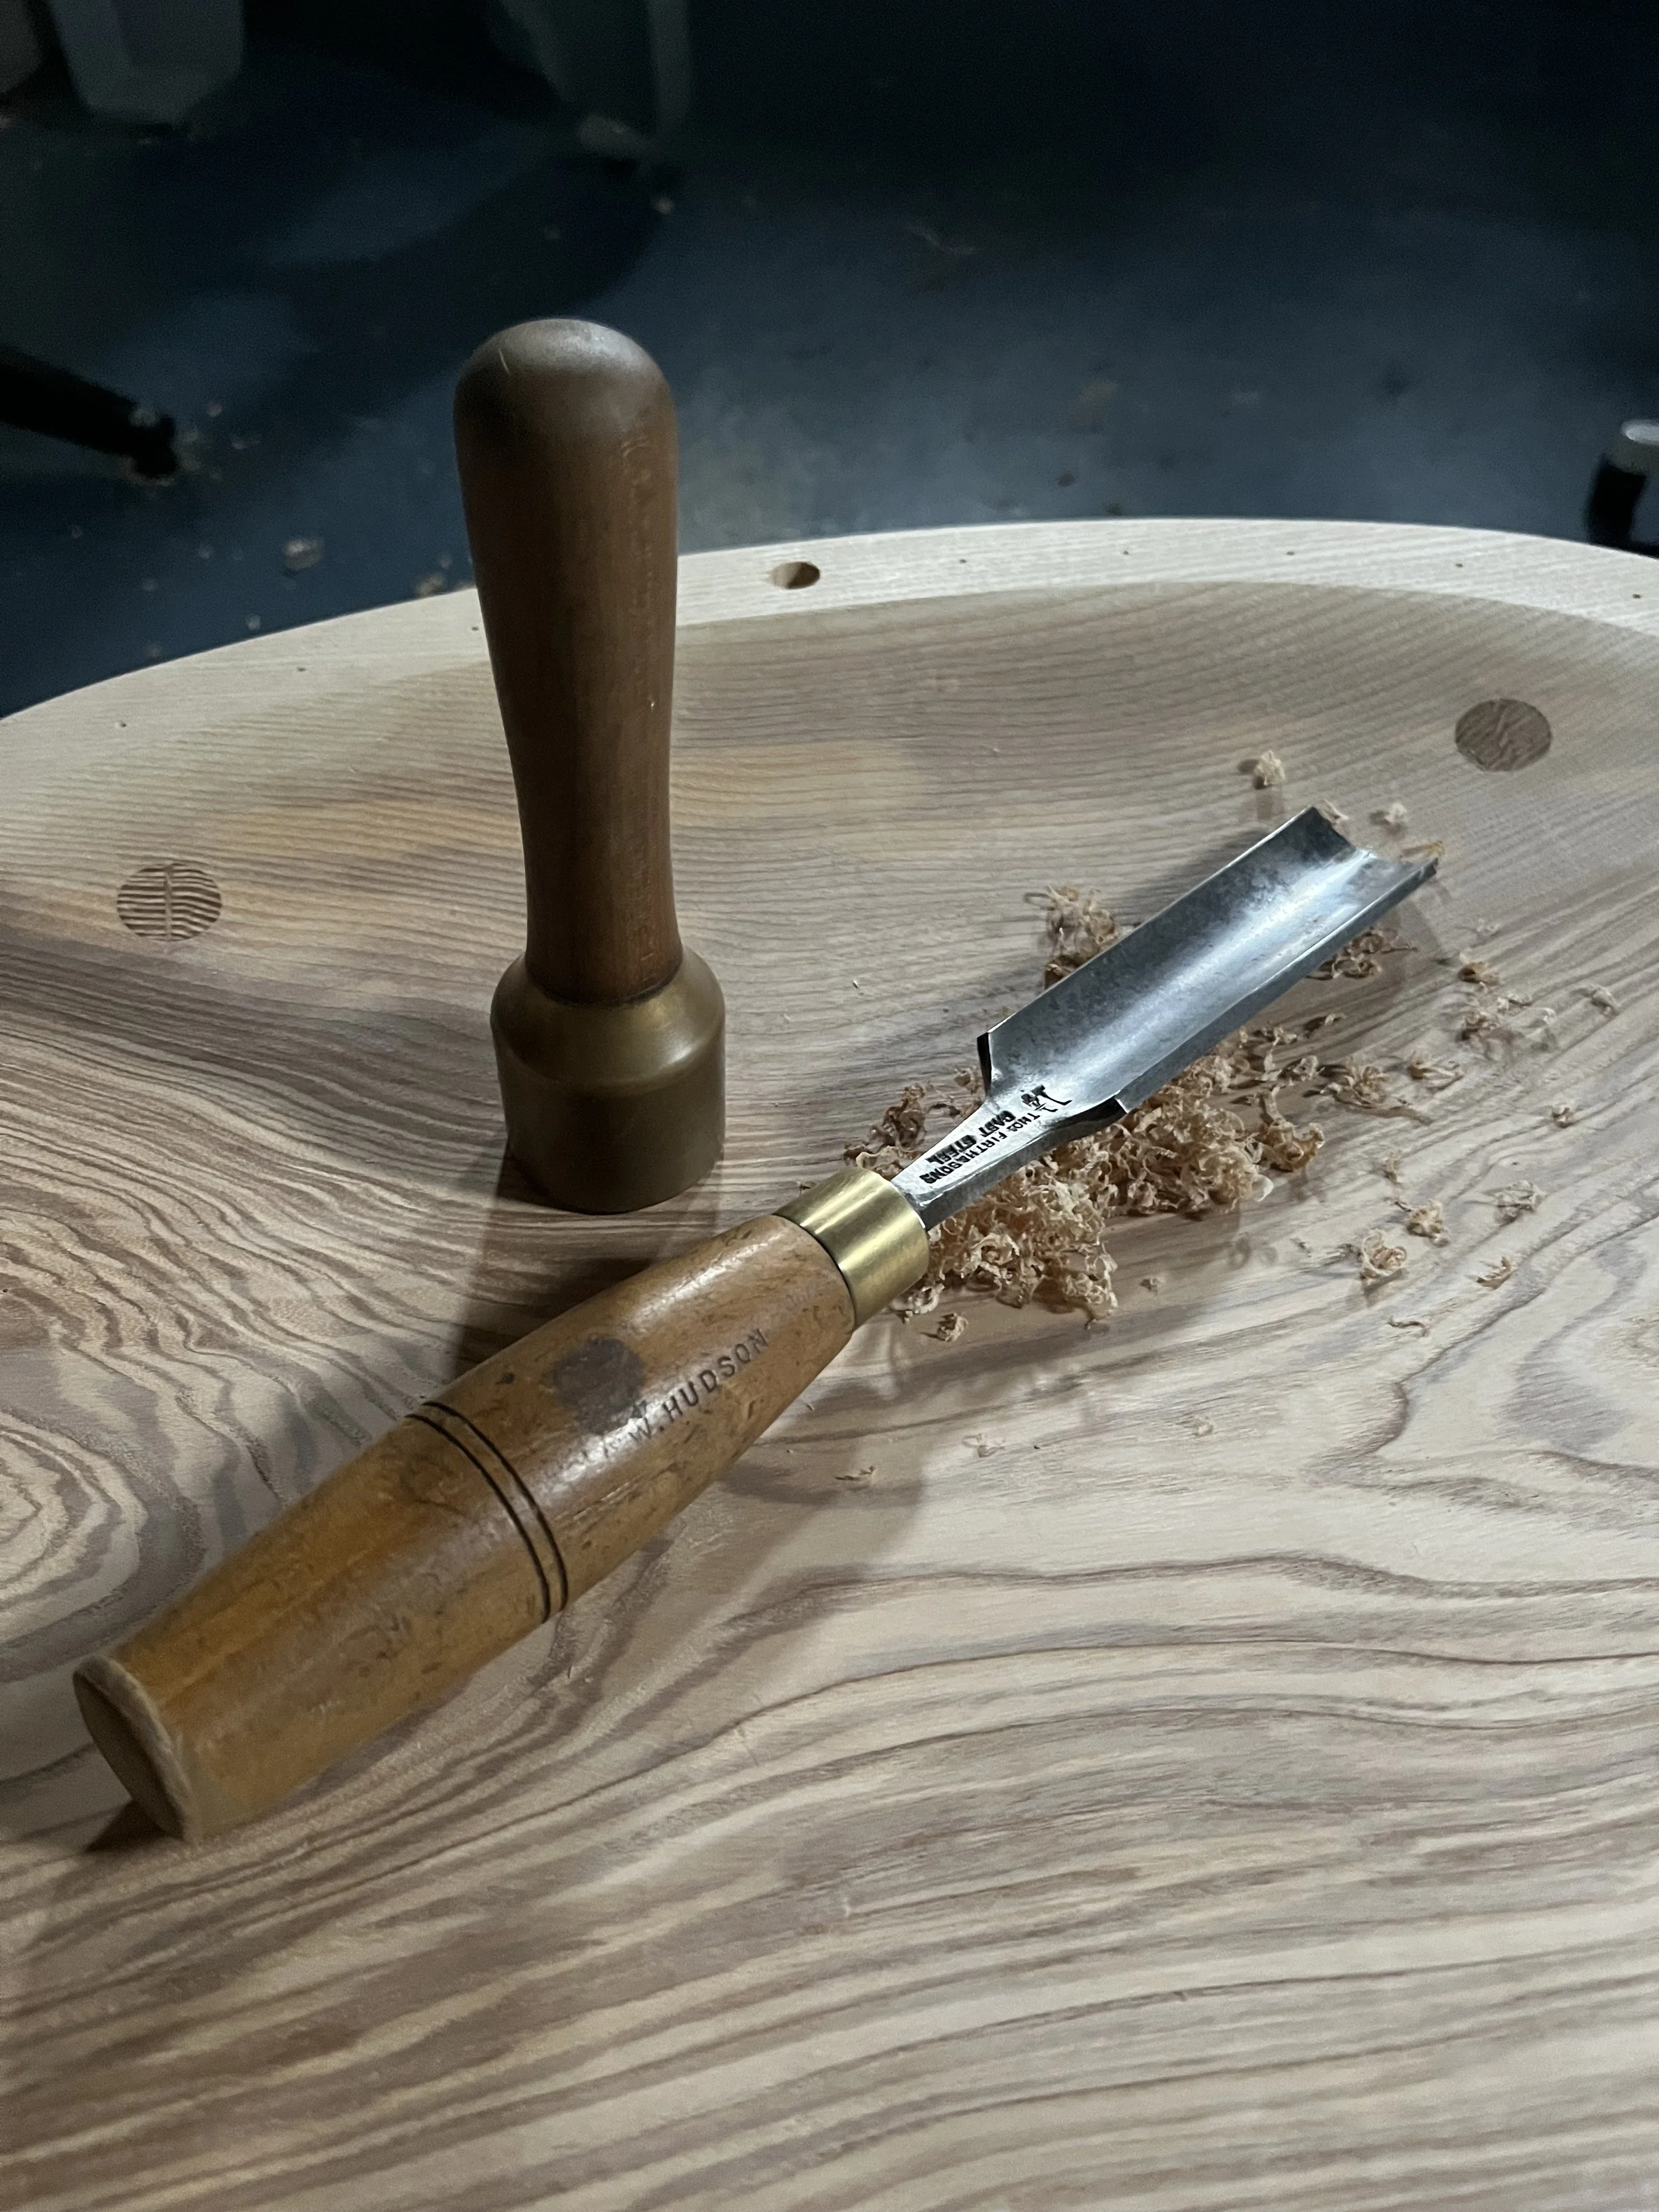
Using air-dried wood for turning is kinder on the tools and a lot more pleasant. It also means that I roughly shape the parts then store them in an airing cupboard for a week or so, just to make sure they don’t shrink. Final shaping means legs first, which are then stuck in a giant pencil sharpener to form a tapered tenon.
Tapered Joinery
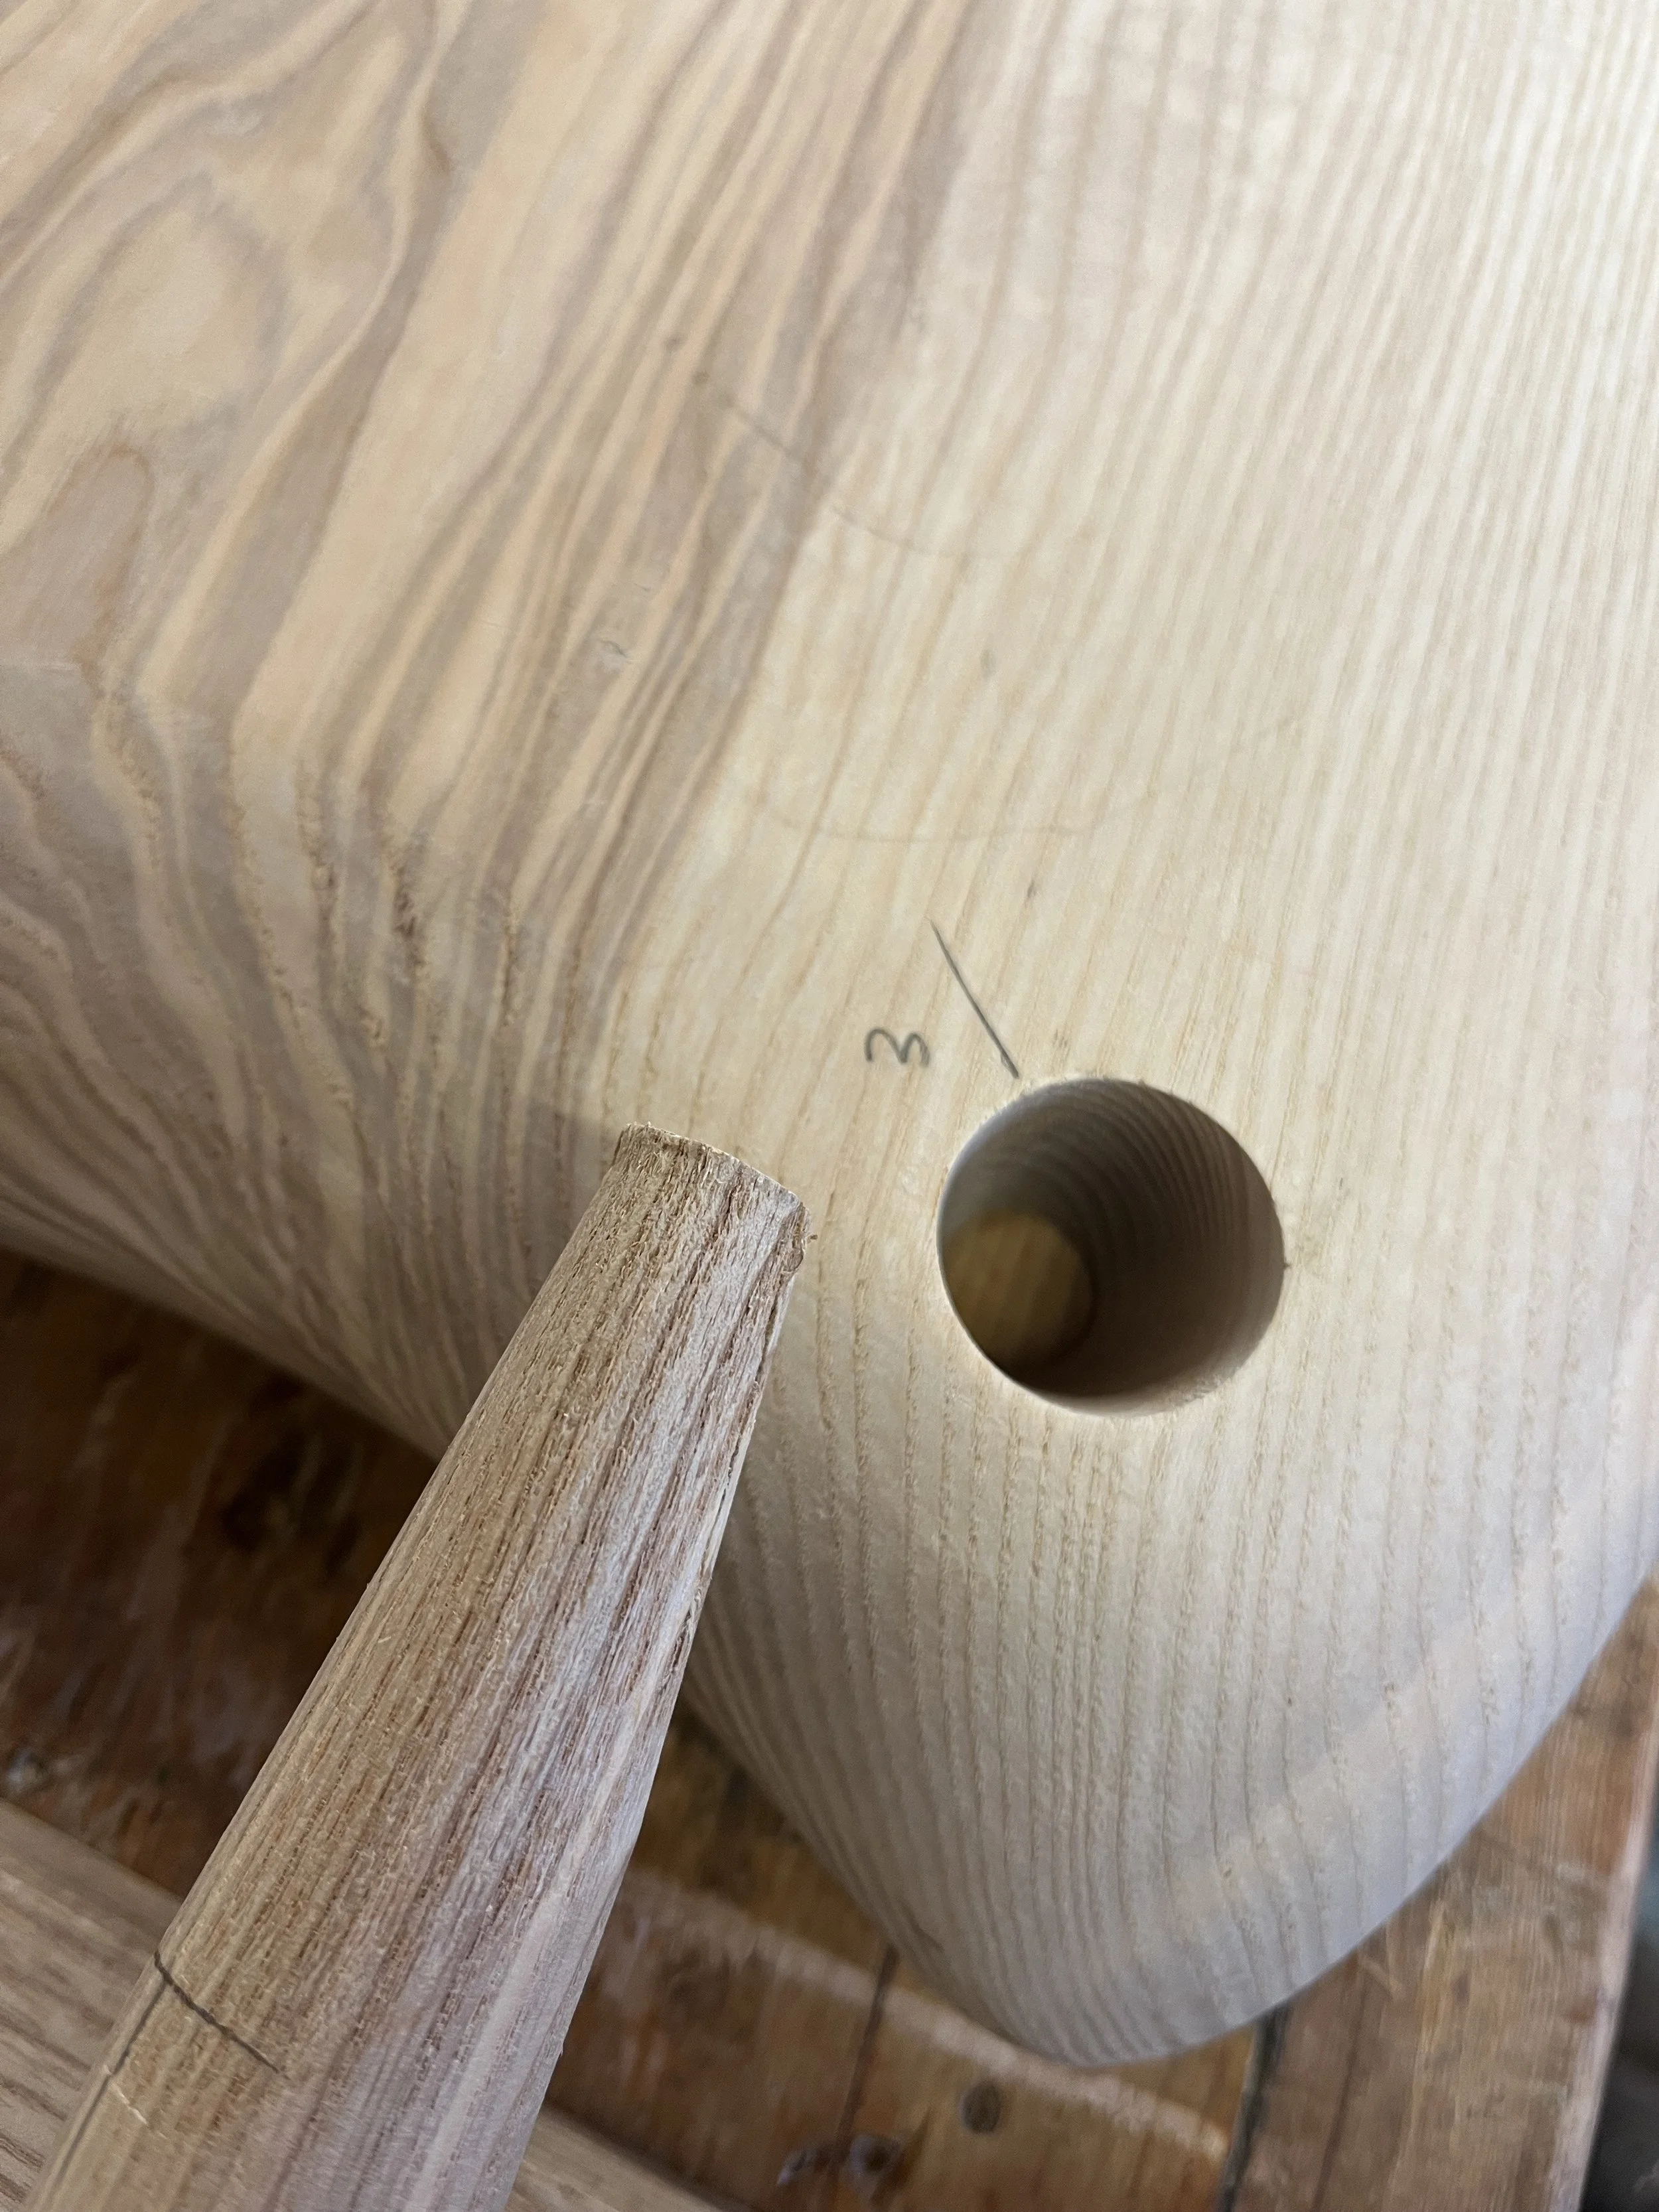
As you can see, the tapered tenon meets a corresponding mortise in the seat. This makes for a well-fitted joint which, every time someone sits on the chair, self-tightens. Clever stuff.
The legs are knocked into place, numbered and marked for position. I drill everything (except leg mortises) by sight. This is trickier than using a guide or jig, but once you’re confident it’s a lot quicker. There’s also something to be said for inaccuracy in chairmaking. So, I’ll say it - inaccuracy is no bad thing.
If every hole I drilled was bang on, the chair would be more likely to fall apart. Inaccuracy introduces a slight amount of tension, which keeps the whole ensemble tight. This extends to sizing parts - I’ll add a few mm to the length of my stretchers, to make sure they, well, stretch. I have to admit, after a couple of decades of working to dead flat and bang on 90 degrees, this took a bit of getting used to. But the freedom means I enjoy the job more, and the chairs have more character.
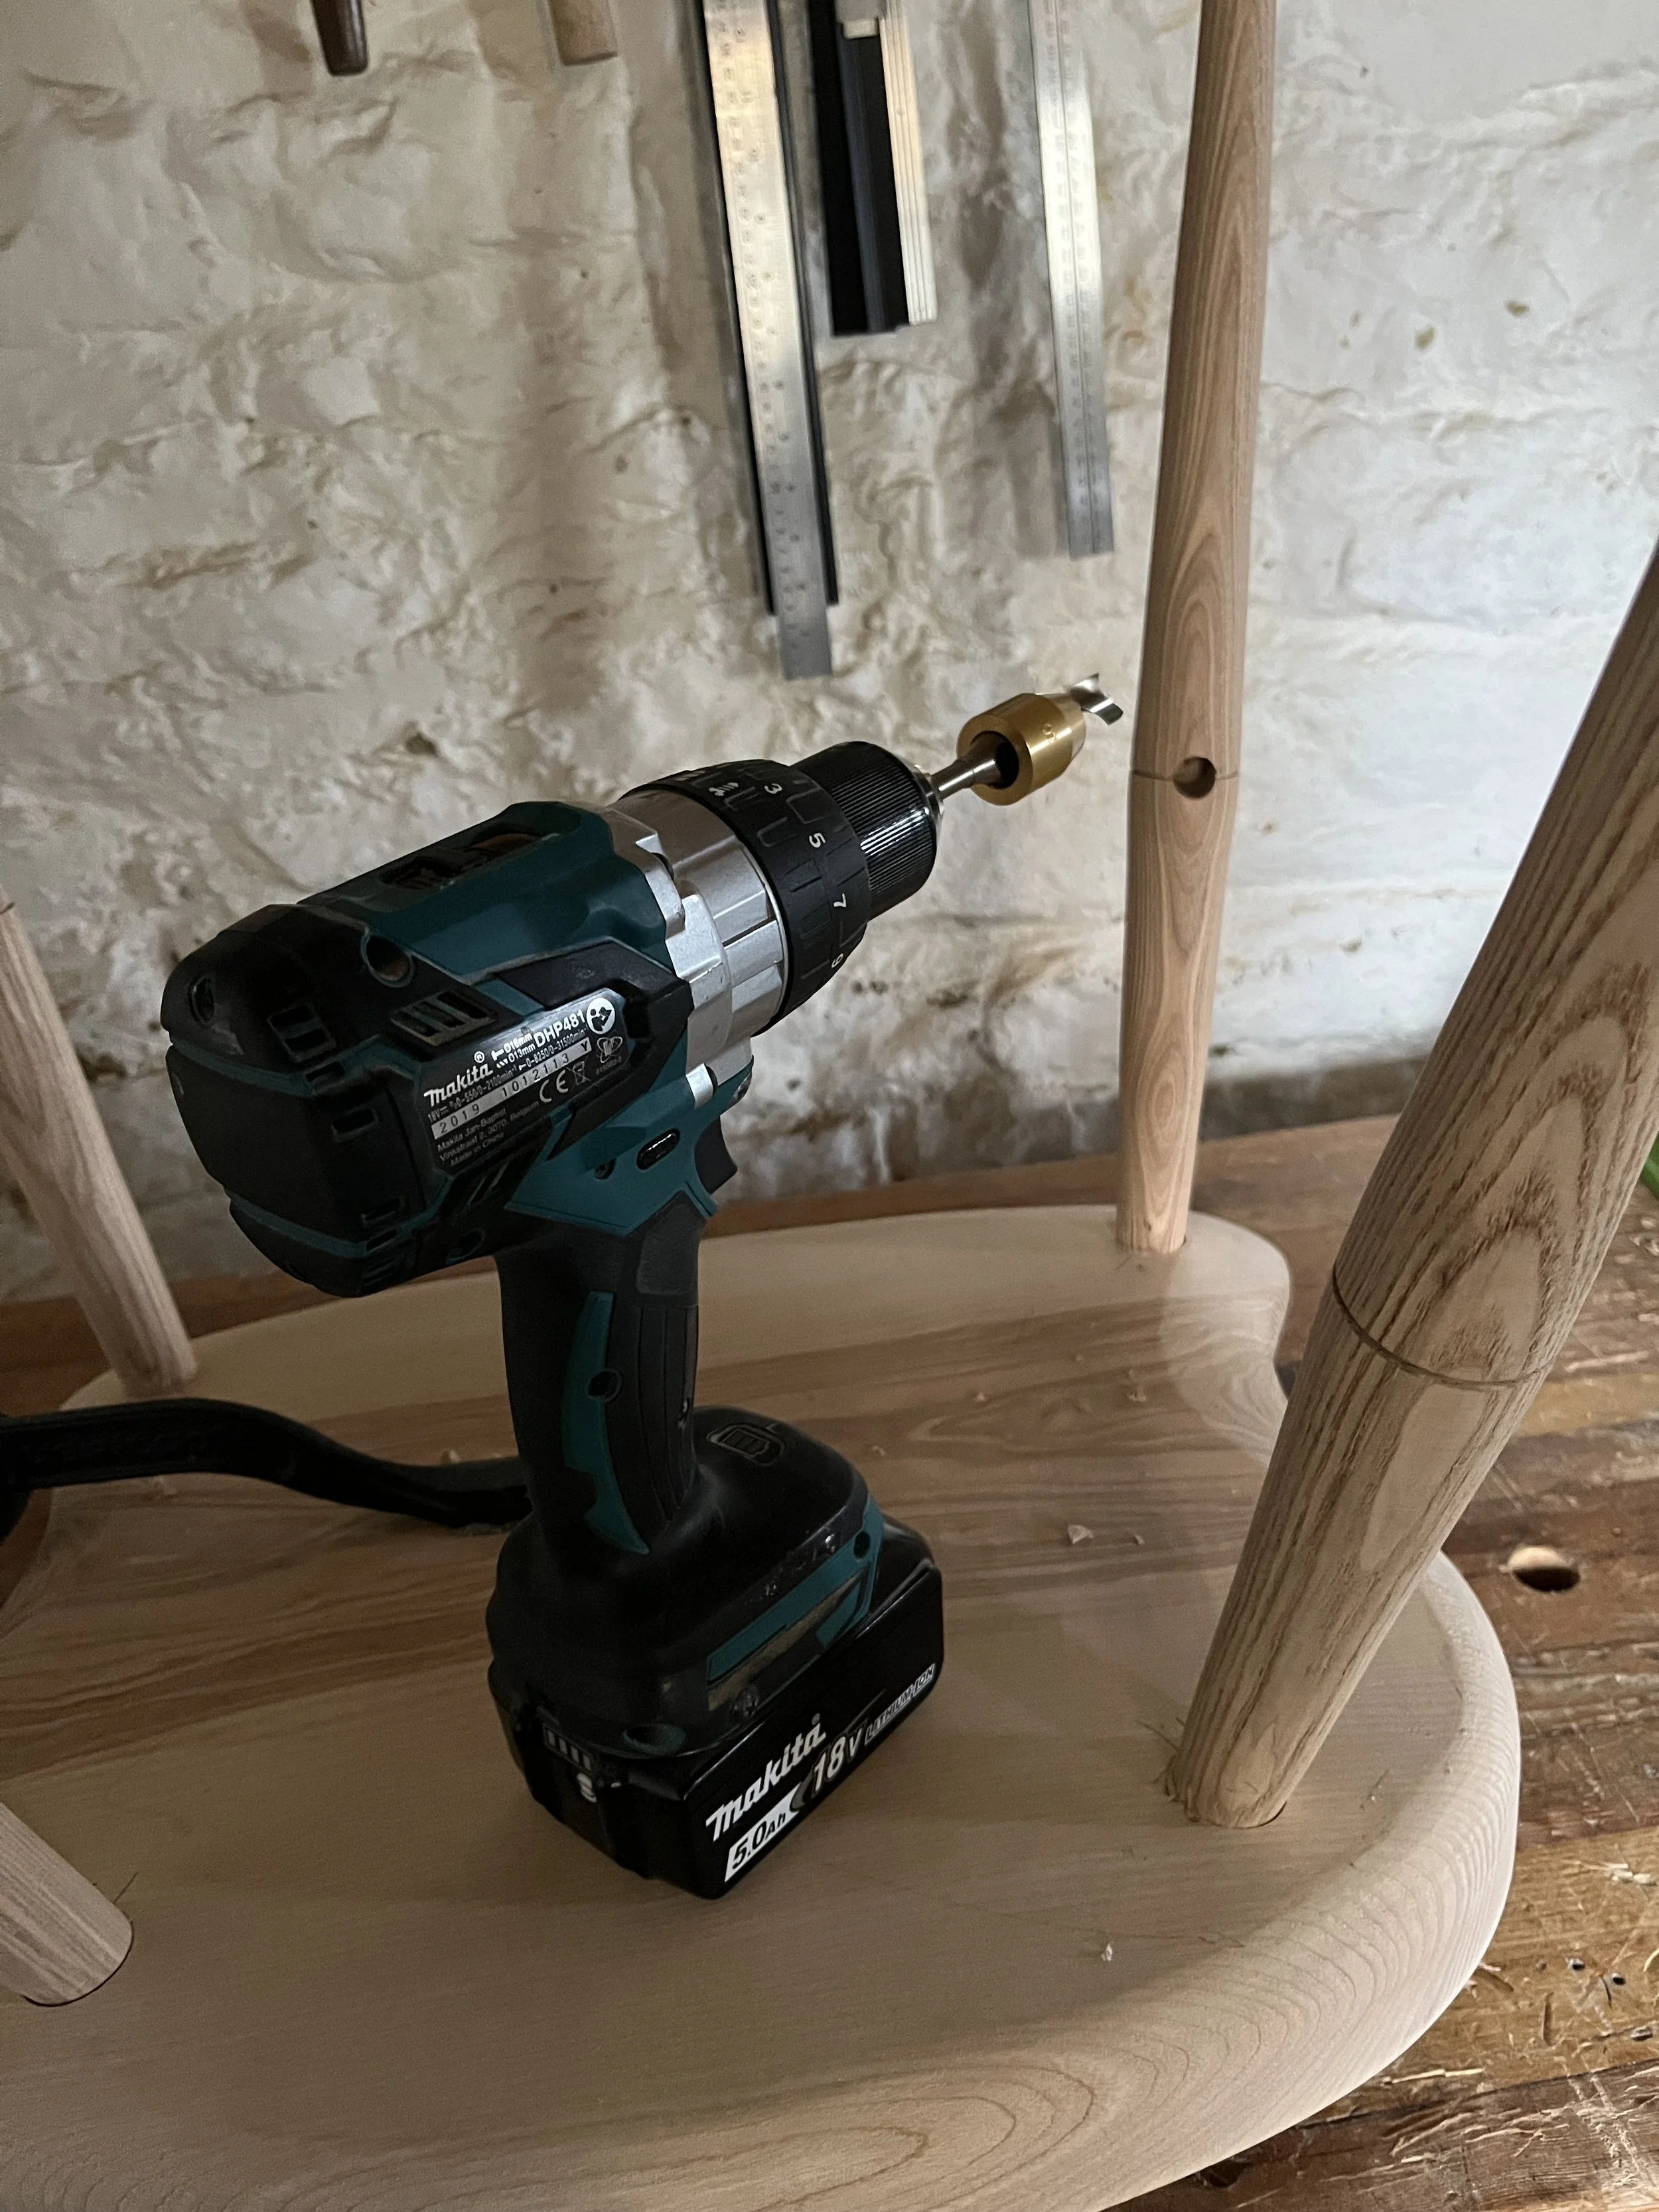
Drill Baby, Drill
After I’ve drilled a few holes with such devil-may-care insouciance, I measure the distance between them and size my stretchers (the bits between the legs, if you’ve been wondering). Once all the parts are ready, I lay out my assembly kit carefully on the bench. This is no time for wondering where I put my hammer. Before I start whacking stuff with merry abandon, a few words about glue.
Back in the mists of time, I studied Historic Building Conservation at the Building Crafts College. The philosophy of the course was informed by The Society for the Protection of Ancient Buildings. One of their recommendations is that any conservation work should be reversible. In the context of making chairs, I try to ensure that my work should be easy to repair. The simplest way of doing that is to use reversible adhesive.
Funnily enough, reversible hide glue is what chairmakers used for hundreds of years, which means that antique chairs are often quite simple to repair. Modern adhesives, on the other hand, ensure that modern furniture is too often only fit for the skip when it gets damaged. You can’t simply swap a leg, for instance. Modern glue is simply too strong.
If The Repair Shop is still running in the year 2125, they’ll be chuffed to bits when one of my chairs turns up. Using traditional hide glue (“horse sauce”) means they’ll have no problem taking it apart then sticking it back together again. Then my great-grandson can reminisce to the presenters about the time I won Strictly and gave the Royal Institution Christmas Lecture in the same year. In the same outfit.
I digress. Back at the bench I’ve got everything in order, ready to start hitting it with a big hammer. The stretchers get knocked together, they then get knocked into the legs and the legs get knocked into the seat. The chair can finally stand on its own four feet. It’s a wobbly little thing at the moment, but in next week’s episode we’ll level the undercarriage and sort out the overcarriage.
If you enjoyed this post, why not subscribe?